Home Improvement Sale
February 1, 2023
Reedsburg True Value Superstore Home Improvement Sale
Valid 1/30/2023 - 2/26/2023
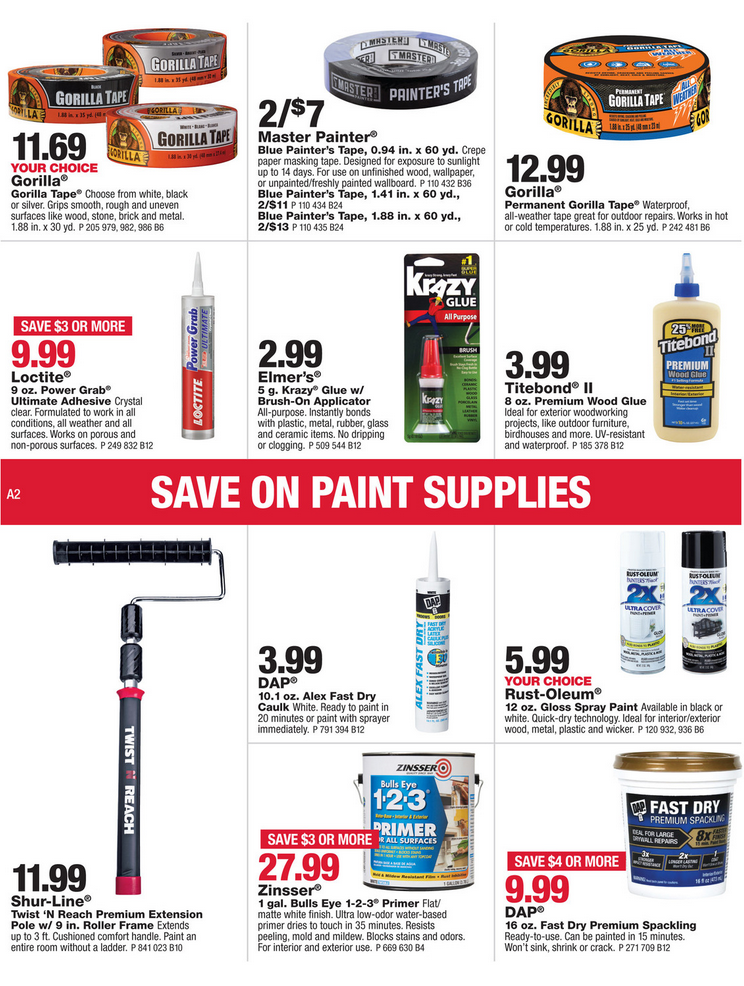
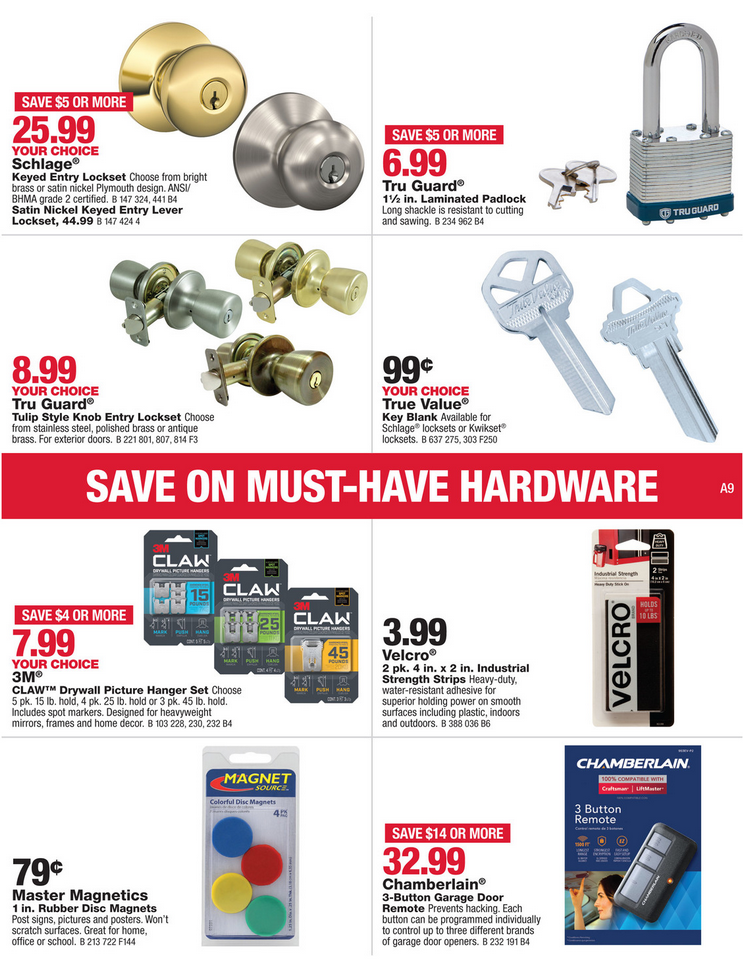
Get ready for Spring home improvement projects with tools and supplies from Martens True Value, at Great Value Sale prices


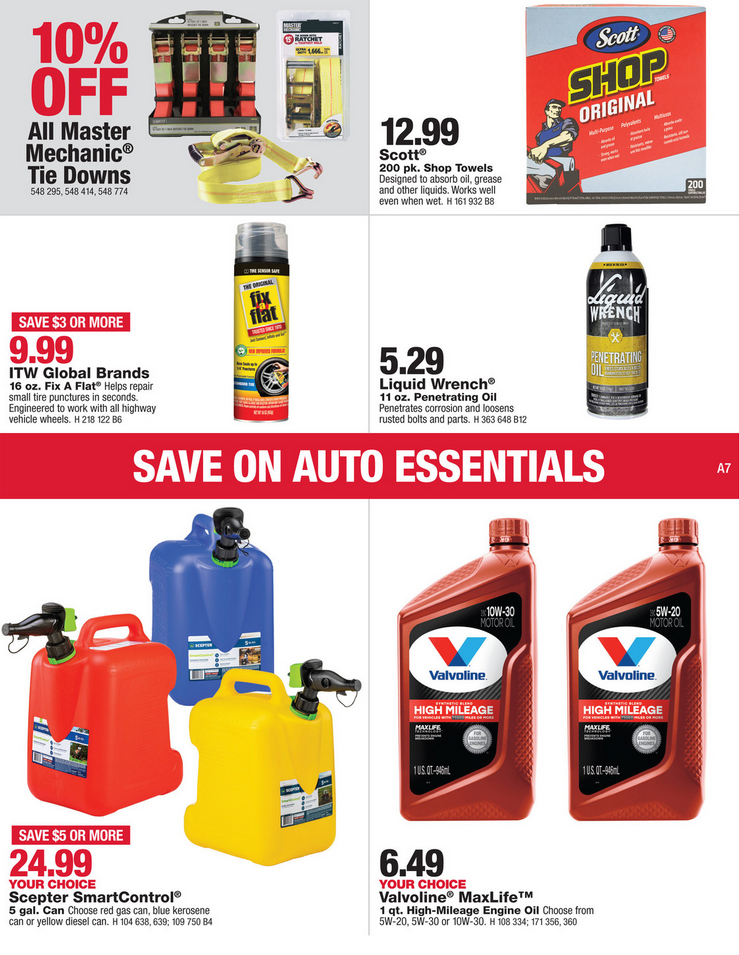


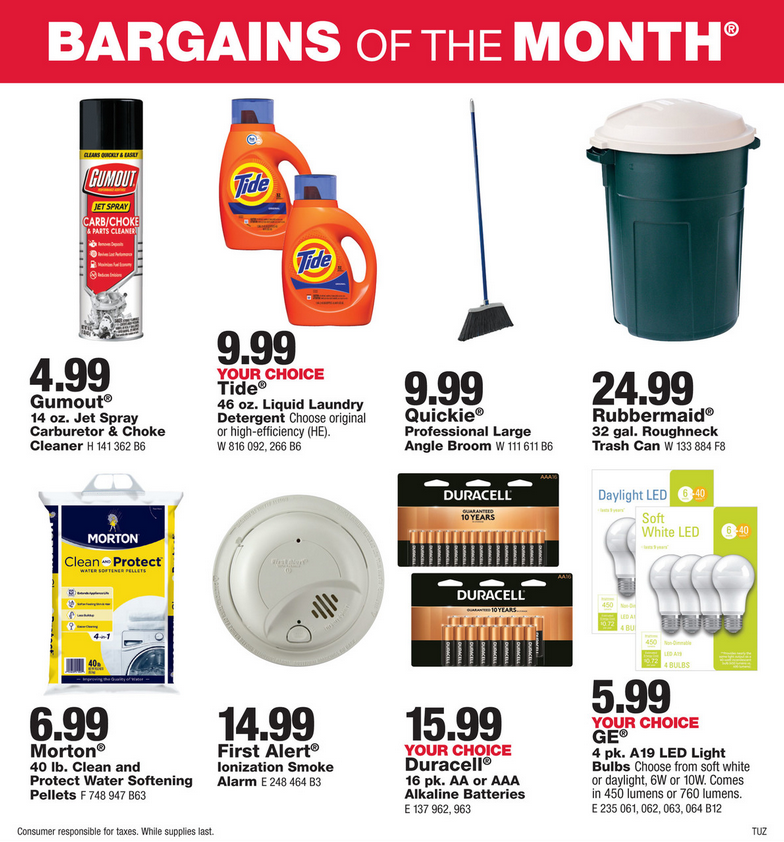
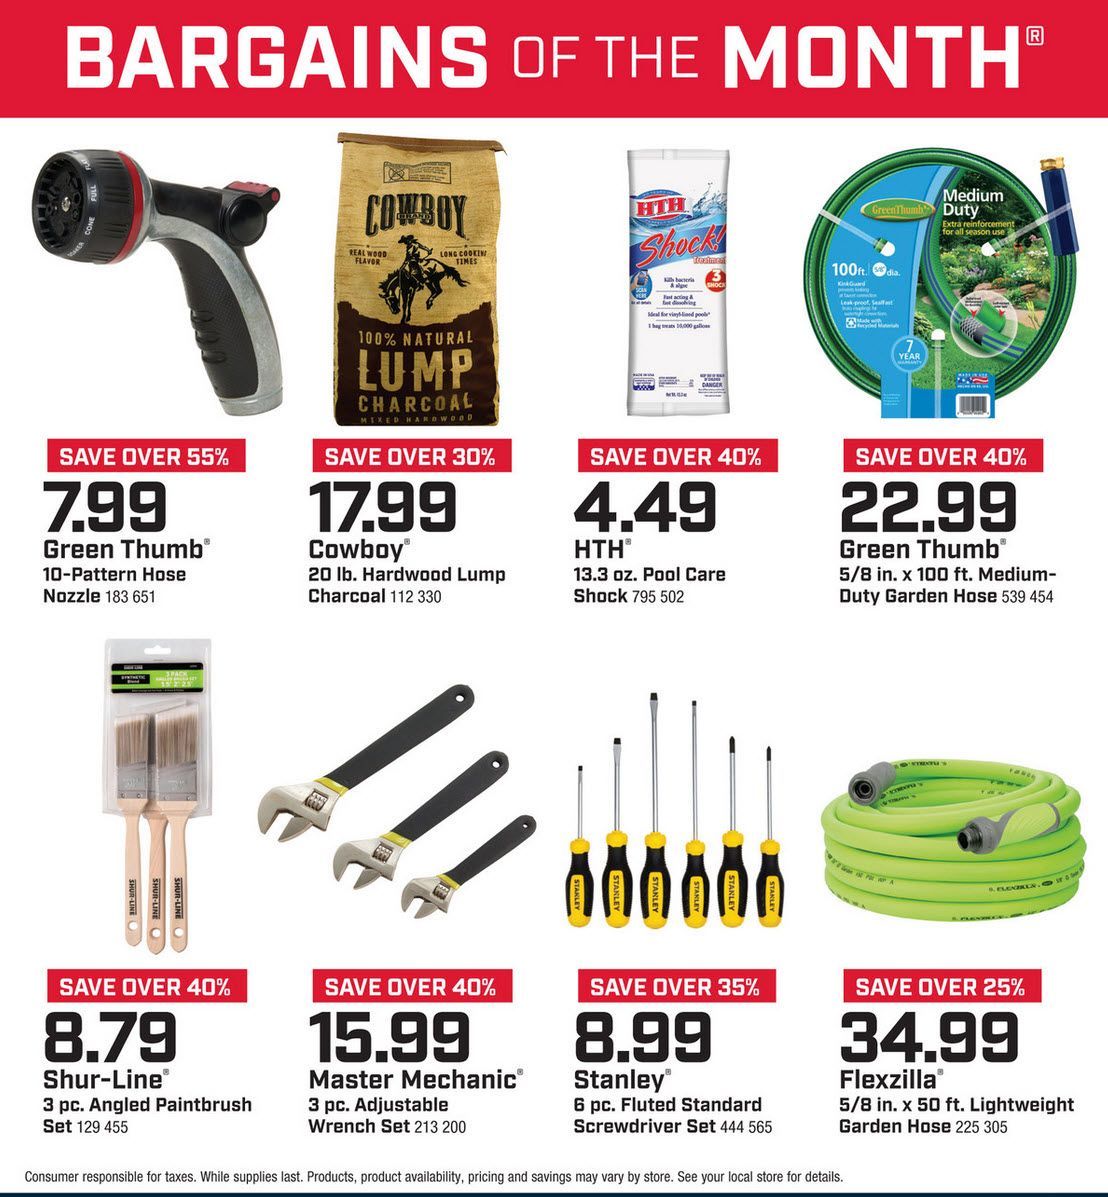
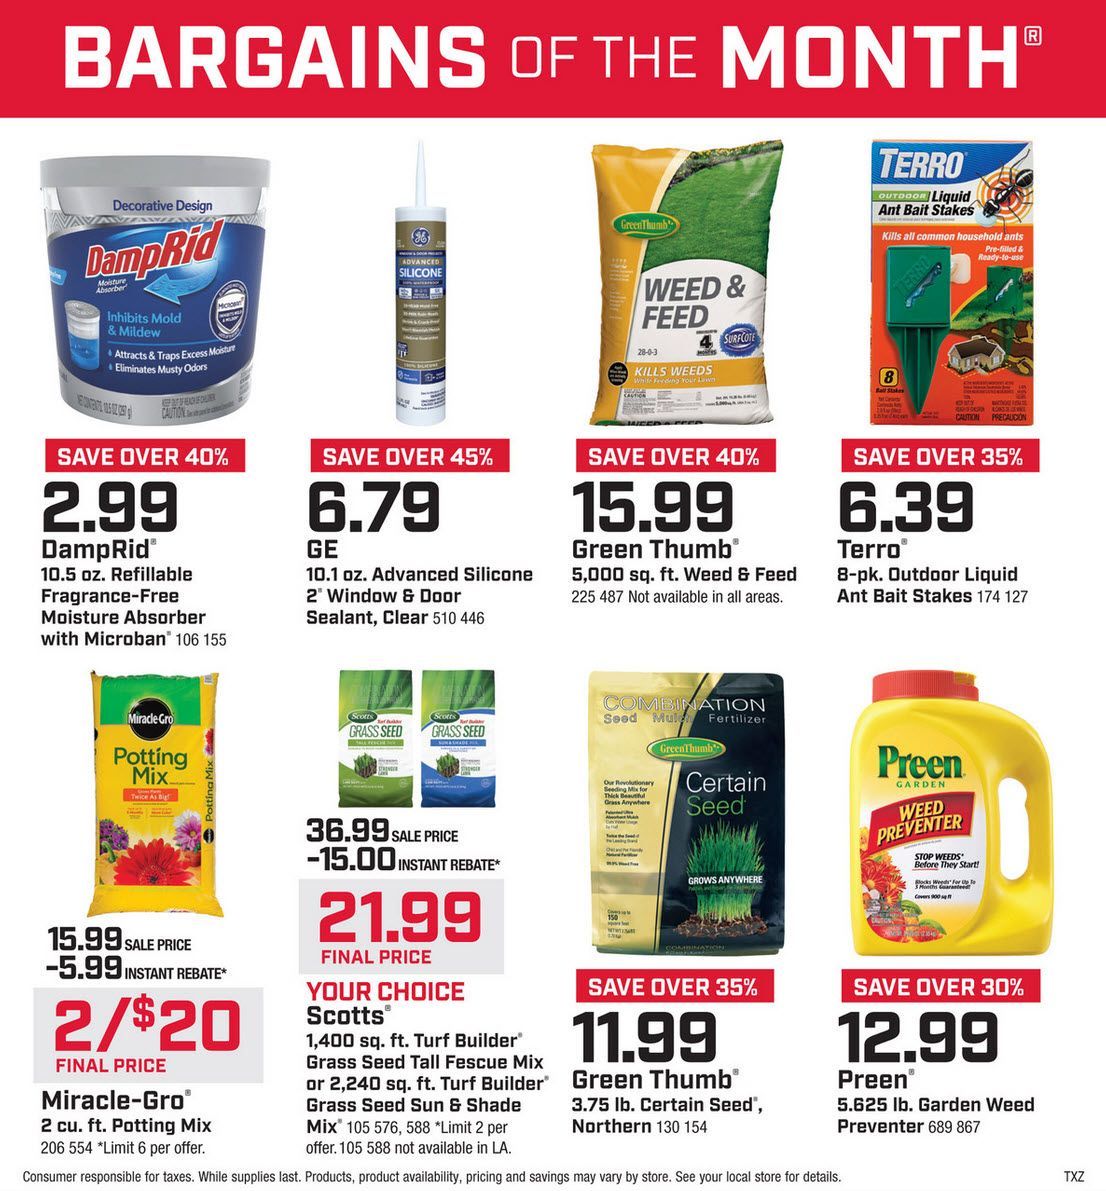
Martens Reedsburg True Value June Bargains of the Month - Prices valid until 6/30/2026 - Shop early for best selection, while supplies last!!
Video preview of the NEW Kettle Smart Ring. Weber Grill Master demonstrates how to set up and use this amazing Smart technology.

STIHL innovations, STIHL brand, – built for nature. For the 100 Year STIHL anniversary, celebrate a shared journey by discovering a machine unifying all STIHL stands for: The MS 500i Centennial Edition!

Camping gear essentials (List of what you need for your first camping trip) Available at Reedsburg True Value Superstore Sporting Goods Department.
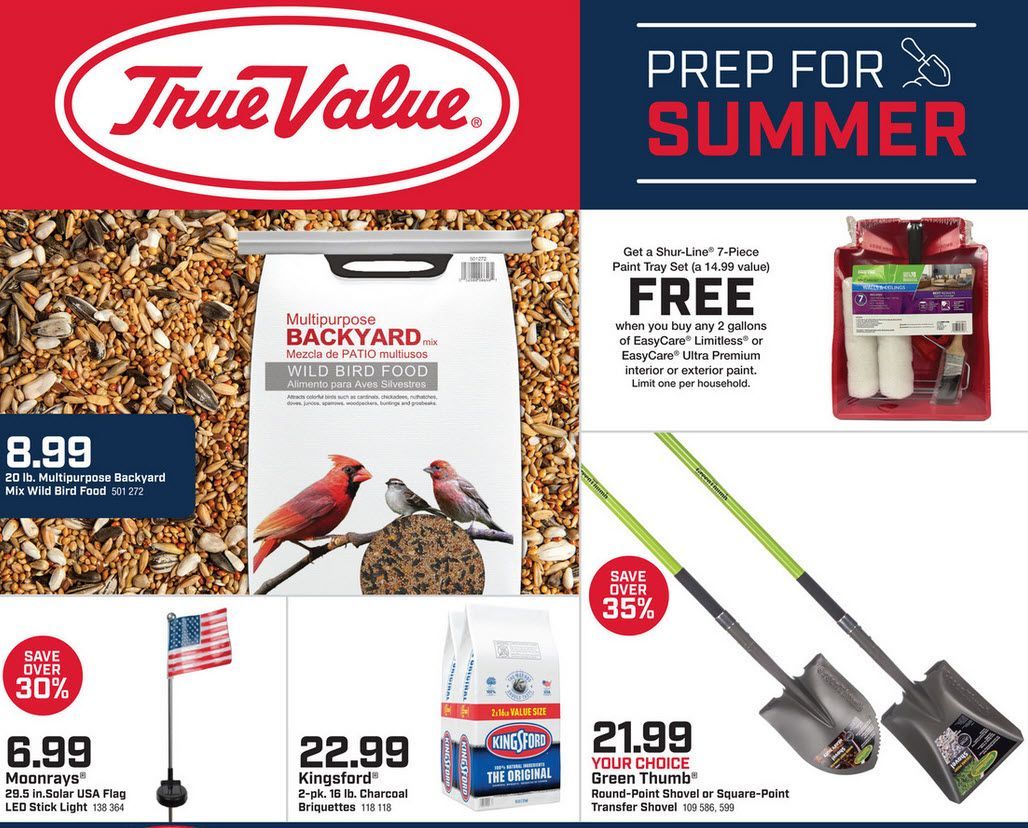
Prep for Summer Sale Going on Now at Martens Reedsburg True Value Superstore! Shop early for BEST selection! Hurry, Sale ends 5/18/2026

A variety of things do a number on lawns — foot traffic, pets going about their business, rodents and insects and even ice-melting salt during the winter. You can easily repair thin or bare areas with these tips.

Want a thriving, functional hedge? Consistent care is key: regular and correct pruning and trimming. Watch this short video by STIHL outdoor power equipment to learn how.

Creating a lush, green lawn requires more than just occasional mowing and watering. Avoiding these common lawn care mistakes is crucial for a healthy lawn.

This is your chance to own a professional mower at an incredible price this season. Hurry, these deals won't last!
Martens Reedsburg True Value April Bargains of the Month - Prices valid until 4/30/2026 - Shop early for best selection, while supplies last!!