Paint Your Kitchen Cabinets Like a Pro
7-Steps to Prep Your Kitchen Cabinets to Receive a Professional Paint Finish
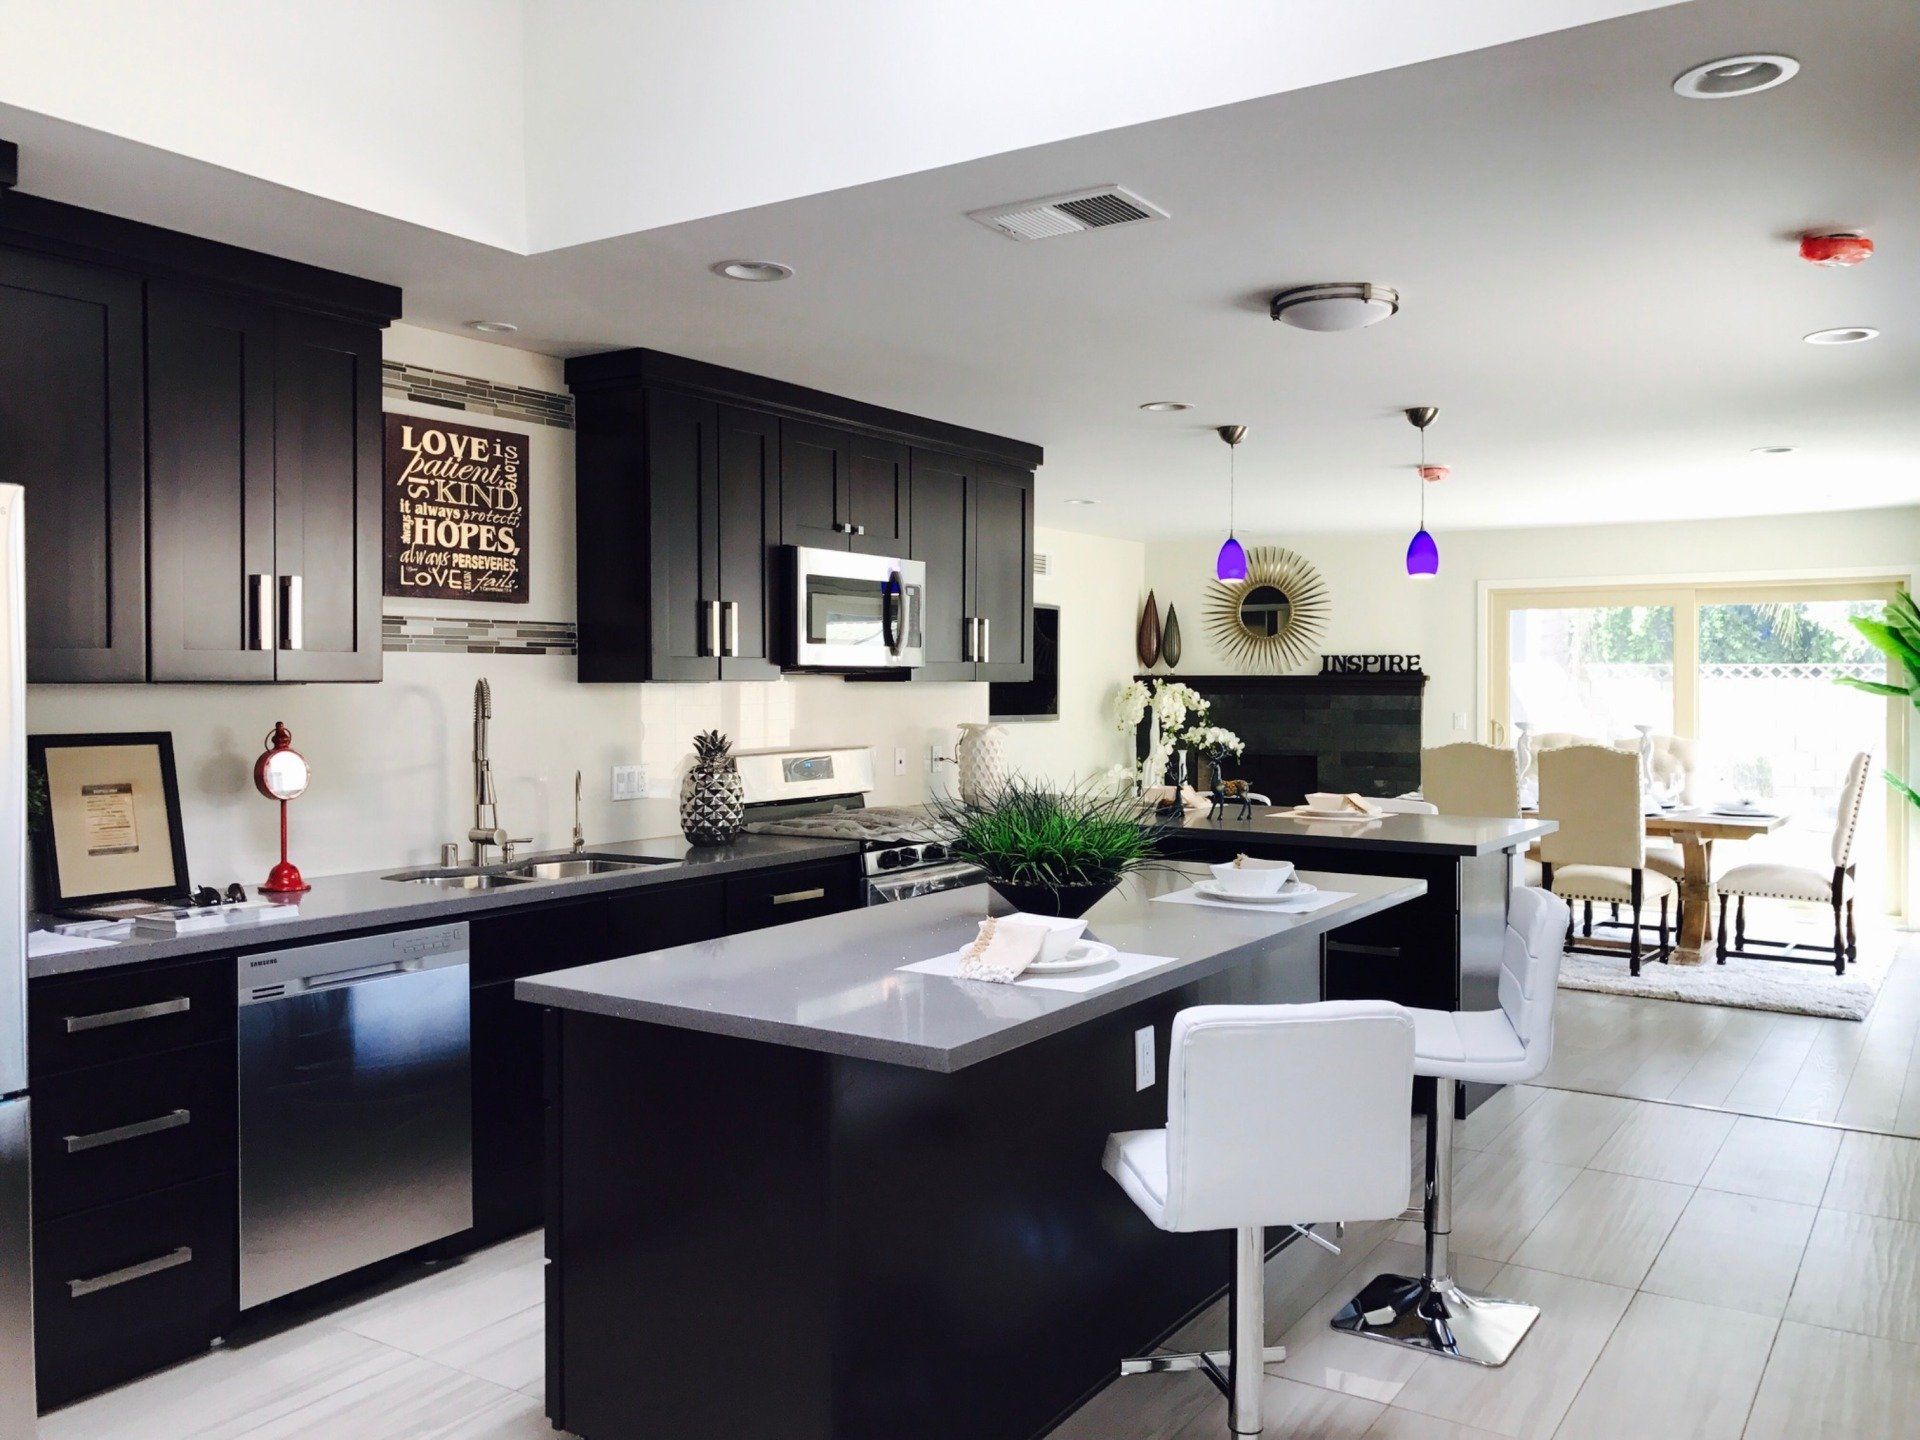
There's a long process to painting your kitchen cabinets. If you don't properly prep your cabinets, you will be sure that your paint finish won't last very long. Proper preparation also gives you a good foundation to achieve the beautiful professional look that you want for your improved cabinets.
There are 7 steps to preparing your kitchen cabinets to receive the best long-lasting finish.
The first step in the 7-step process is to remove all the hardware. You want to remove your cabinet doors to make it easier to paint your kitchen cabinets. Most homeowners plan on reusing their hardware so it's very important to remove your hardware in order to protect your hardware from the following steps in the 7-step process. After you remove your hardware, you want to make sure you put your hinges, knobs, handles and screws in a safe place so when the painting project is finalized, you can easily install your hardware.
The next step is to mask your cabinets.
The worst thing that you can do, is damage your walls and counter tops while trying to paint your cabinets. When masking, you want to cover everything, with paper or plastic, and use blue painters' tape for easy removal and release of tape, from your walls, floor and counter tops. Most people skip masking the floor, but proper masking will give you sharp and clean lines on your floors. Painting close to the floor is a difficult task to begin with, so make sure you tape off the floor and cover the floor to keep from having to clean up paint splatters later.
After everything is masked and covered up, the next step is degreasing your cabinets. If you have new cabinets that haven't endure the cooking environment, then skip this step. Most paints claim to block stains, but oil stains are something different and any oil left behind will cause your painting job to fail, plus the oil stains will come through the paint. You don't want to put in 4 days of painting just to realize that you will need to repaint your cabinets to remove the oil stains. You can use any degreaser, just be sure to clean all the degreaser from the cabinets once you are done.
Next is the hardest part of the prepping process and that's sanding your cabinets. You first must make sure the cabinets are dry from the degreasing process. Once you are sure the cabinets are dry, then you are going to need to sand your cabinets. It's best to use 220 grit sanding paper or blocks. Anything coarser than 220 will cause deep scratches that will show through your paint finish, so make sure you don't use a rougher grit than 220. When sanding, you want to make sure your cabinets don't have a shine or gloss. If your cabinets were stained and sealed, the sealer is the clear coat, and the sealer is what protects your cabinets, and that includes protection from paint. So, you need to sand the glossy protection from your cabinets.
Once you are done sanding cabinets, you need to remove all the dust that is left afterwards. Failure to remove all the dust from sanding can cause two problems. One problem is paint failure. Dust will prevent your primer from sticking to the cabinets properly. Dust creates a layer between your cabinets and primer, which means your primer won't come directly in contact with your cabinets and will be problematic at some point in the future. The other problem dust will create is giving you a gritty finish. Once primer dries on dust, the primer will take on the characteristics of the dust, which is a gritty texture. Plus, the gritty texture will make it hard to clean your cabinets later. It's easier to clean smooth cabinets than gritty texture cabinets. Oil and dirt will be embedded in the pits that the sanding dust will create. You need to use microfiber rags to remove the dust after you are vacuuming the dust away.
Caulking and wood filling your imperfections in your cabinets will go a long way in making your cabinets paint job look professional. You won't to wait to caulk after the degreaser and sanding is completed to keep from damaging your cabinet and wood filler. If you need to wood fill anything on your cabinets, make that's done before you caulk because after you fill your holes or grain with wood filler then you will need to sand the wood filler smooth. Then you would repeat the dust removal process listed above. Even with your caulking, you want to use a very small hole to caulk your kitchen cabinets. Make sure you smooth the caulk properly removing any excess caulk and residue, because any caulk that isn't smooth will show through you in your paint.
The last step to the 7-step process is to prime your cabinets.
Before you prime, you need to make sure your caulking is completely dry. If your caulk isn't thoroughly dry, then primer will caulk a slower dry, and will cause a failure later. If you don't let your caulk dry then the caulk will shrink, crack or shrink and crack after you are done painting your cabinets.
For cleaning, prepping, priming and painting supplies to renovate your old kitchen cabinets visit Reedsburg True Value Hardware Superstore today! We have what you need to get your DIY projects done right!!
Article Source: http://EzineArticles.com/10235297
